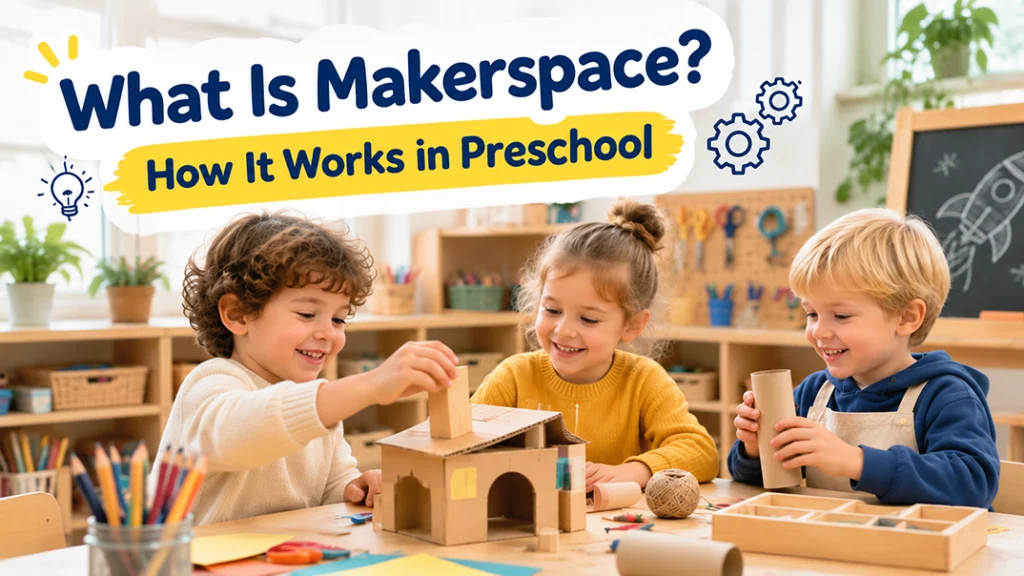
A preschool makerspace gives children a place to turn ideas into things they can build, test, and improve. In a preschool classroom, it may be a small classroom area with blocks, cardboard, art materials, and child-safe tools rather than a room full of advanced equipment. This guide explains how makerspaces work, what children can learn, and how to create a space that supports hands-on exploration.
What Is Makerspace in Preschool?
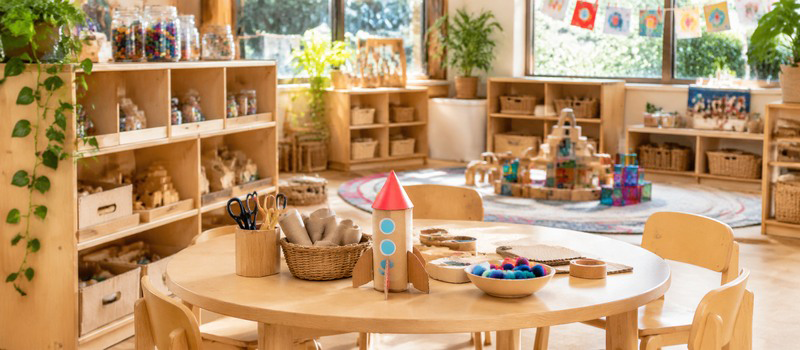
A preschool makerspace is a learning environment where children use different materials and tools to design, build, and test their own ideas. They might build a bridge with wooden blocks, create a model from cardboard, or combine different materials to make something new. The goal is not to produce a perfect finished object. It is to give children room to explore, make choices, and learn through trying things out.
The main difference between a makerspace and a traditional teacher-led activity is the amount of choice children have. Instead of asking everyone to follow the same instructions and produce identical results, you introduce a question or challenge and let children decide how to approach it. Their projects may look completely different, even when they start with the same materials.
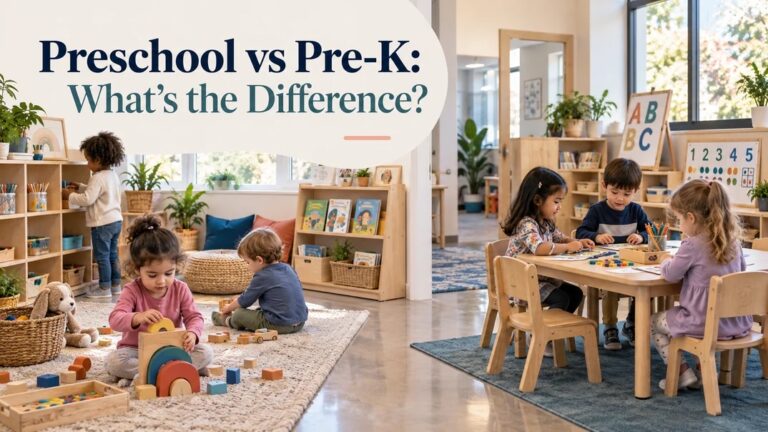
A makerspace does not have to be a separate room filled with advanced equipment. In a preschool classroom, it can be a shared classroom area where children have access to suitable materials and enough space to work. Low, open shelves can keep materials visible and within children’s reach. You can also connect making activities with existing learning centers so children have more opportunities for hands-on exploration throughout the day.
How Does a Preschool Makerspace Work?
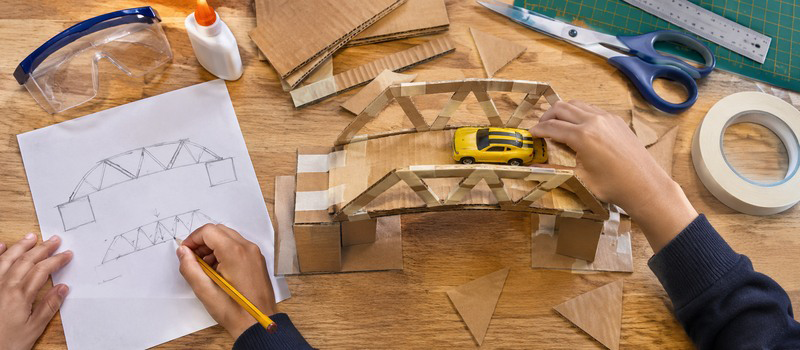
A preschool makerspace usually follows a flexible process that takes children from an initial idea to a finished project. They identify a challenge, choose materials, make something, and see whether their solution works. They can return to an earlier step whenever they need to rethink a design or try a different approach.
Start With an Idea or Challenge
Every project needs a starting point. You can introduce a simple question or give children a problem to solve. For example, ask them to build a bridge that allows a toy car to pass underneath. This gives them a clear goal without telling them exactly what the bridge should look like or which materials they must use.
Choose Materials and Make a Plan
Once children understand the challenge, let them look at the available materials and decide what might work. They may choose cardboard, wooden blocks, paper tubes, or other suitable items. Younger preschoolers may start building straight away, while older preschoolers may draw a simple picture of their idea before getting started. The plan can change as they discover what the materials can do.
Build, Test, and Improve
This is where children put their ideas into practice. A bridge may collapse, a tower may lean to one side, or a paper structure may not hold its shape. Instead of immediately showing them how to fix it, encourage them to look at what happened and try another approach. They might add a support, change the base, or choose a different material. The important part is giving them time to test their own ideas.
Share What They Have Made
Once the project is finished, invite children to show what they made and explain how they approached the challenge. Ask what was difficult, what worked well, and what they might change next time. They do not need to give a formal presentation. A short conversation with a teacher or classmate is enough to help them reflect on their decisions and notice different ways of solving the same problem.
What Can Children Do in a Preschool Makerspace?
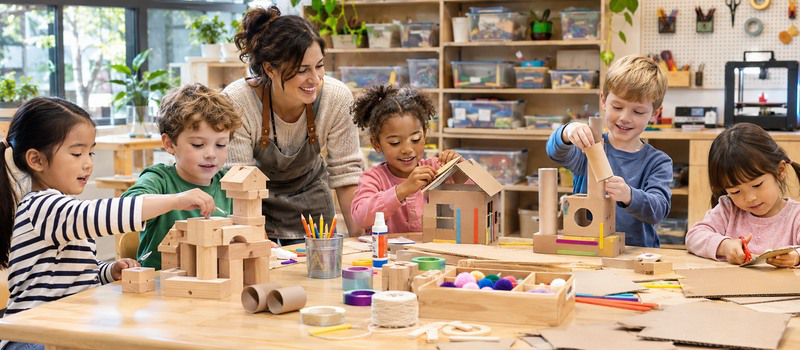
The activities in your makerspace can change according to children’s ages, interests, and classroom topics. You do not need complicated projects to make the experience meaningful. Simple materials often provide plenty of opportunities to explore, especially when children are free to create something different from their classmates. The examples below can be adapted to different abilities and themes.
Building and Construction
Building activities are a natural starting point for many preschool makerspaces. Children can use wooden building blocks, cardboard boxes, wooden pieces, and other construction materials to create towers, bridges, houses, or their own inventions. As they work, they begin to notice how balance, height, and the position of different pieces affect the result. For a simple challenge, invite them to build a tower that can stand on its own or a bridge that can hold a toy car. Let them test different designs rather than showing them one model to copy.
Art and Creative Making
A makerspace also gives children room to explore art beyond completing a craft template. Offer paper, fabric, clay, paint, and other age-appropriate art materials for them to combine and transform. They might design a puppet from reused packaging, make a textured picture, or build a three-dimensional sculpture. The aim is to let children decide how to use the materials and make something that reflects their own ideas.
Science and Simple Engineering
Children can explore basic scientific ideas through small experiments and building challenges. For example, invite them to design a small boat using foil, cork, or other safe materials. They can test whether it floats, add a few counters to see how much it can carry, and change the shape if it sinks. A sand and water activity table can also give children a practical place to pour, compare, and test how different materials behave. This turns a simple floating-and-sinking activity into a making process: children choose materials, build, test, and improve their designs.
Recycling and Reusing Materials
Everyday packaging can become useful making material when it is clean, safe, and suitable for the children’s age group. Cardboard tubes, small boxes, and fabric scraps can be used to create models, props, or pretend-play objects. You might invite children to design a small house or vehicle from reused materials, then decide how to make it stand or move. Check all recycled items before use for sharp edges, splinters, loose parts, or other hazards.
What Skills Can Children Develop in a Makerspace?
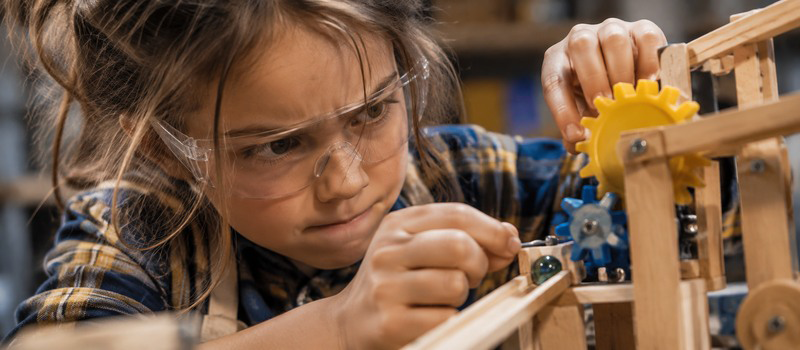
The value of a makerspace is not measured by how many projects children finish. Pay attention to what happens while they are working. A child who changes a design after it falls over, asks a classmate for an idea, or finds another use for a material is already learning through the process.
Problem-Solving Skills
Children often encounter small problems while making something. A structure may not stand, two pieces may not fit together, or a material may behave differently than expected. When you give them time to work through these situations, they can practice identifying what went wrong and trying different solutions instead of waiting for an adult to fix everything. Even a small change, such as widening a base or using a stronger piece of cardboard, gives them a chance to test their thinking.
Creativity and Independent Thinking
Open-ended activities allow children to make their own choices. They can decide what to create, which materials to use, and how to combine them. Two children given the same materials may come up with completely different ideas. This freedom to explore different possibilities is also central to research on makerspaces and creativity, which considers how the learner, the making process, the environment, and the finished work all contribute to creative activity.
Collaboration and Communication
When children work alongside their classmates, they have opportunities to share materials, explain their ideas, and work through disagreements. For example, two children building a cardboard house may have different opinions about where the door should go. They can talk through their ideas, test different options, and decide how to continue. Shared projects are useful here because they give children a reason to listen, explain, and make decisions together.
Persistence and Confidence
Not every idea works the first time. A project may need several attempts before children are happy with the result. When you allow them to make changes instead of immediately providing the answer, they begin to understand that an unsuccessful attempt is part of learning. Completing something through their own effort can also give them a stronger sense of confidence and encourage them to try a new challenge.
These skills grow through meaningful opportunities to make choices, work through problems, and try again. In a three-month kindergarten makerspace program involving 407 children and 24 teachers, children who took part showed improvements in problem-finding and solving, hands-on work, creative design, and communication. The experience matters because children are actively involved in making decisions, not simply using a room filled with materials.
How Is a Makerspace Different From a STEM Lab or Art Center?
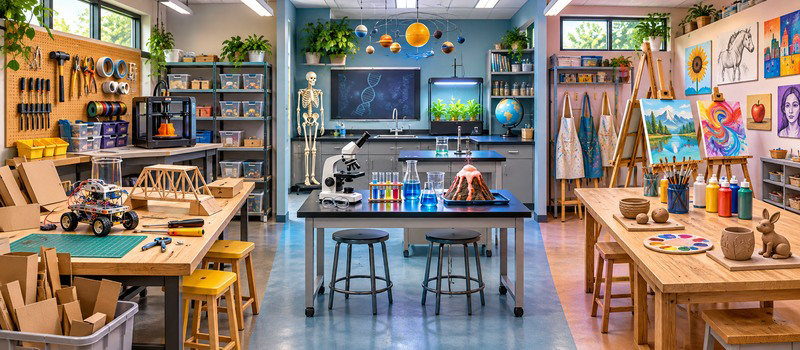
If you are planning learning activities in your preschool, you may wonder whether a makerspace is simply another name for a STEM lab or art center. These spaces can share materials and activities, but they usually have different primary learning goals. The comparison below shows how their main purposes differ while leaving room for overlap.
| Comparison | Makerspace | STEM Lab | Art Center |
| Main focus | Making, designing, and creating | Exploring science, technology, engineering, and math | Artistic expression and creative work |
| Common activities | Building models, testing designs, creating objects | Experiments and engineering challenges | Painting, drawing, sculpting, and crafts |
| Learning approach | Open-ended exploration and making | Inquiry and investigation | Creative expression |
| Possible outcomes | Models, prototypes, or creative projects | Understanding scientific and mathematical concepts | Artwork and creative pieces |
The main difference is what you want children to explore. In a STEM lab, you may focus on helping them investigate why something happens. In an art center, you may encourage them to express an idea through drawing, painting, or sculpture. In a makerspace, these experiences can come together. Children might use simple engineering ideas to build a structure and then add artistic details to their finished project.
You do not need to choose only one approach. A makerspace can include STEM activities, art projects, construction, and hands-on exploration depending on your curriculum and children’s interests. A building challenge, for example, can involve early engineering, creative design, and teamwork at the same time.
What Is the Teacher’s Role in a Makerspace?
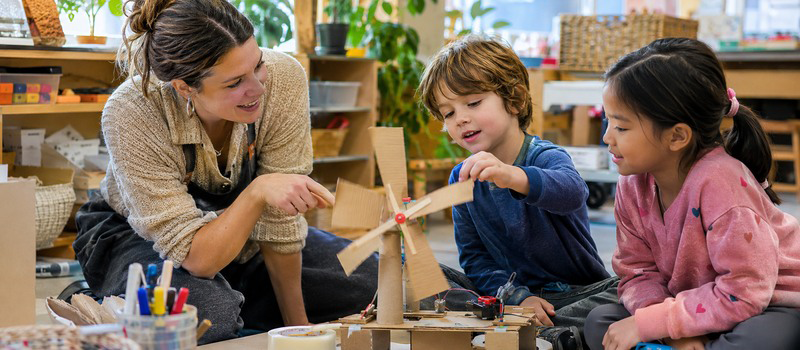
Your role in a makerspace is different from leading a traditional teacher-directed activity. You still need to introduce materials, explain safety rules, and guide the learning process, but you do not need to control every step. Giving children enough room to make their own decisions is an important part of the experience.
Start by giving children a clear challenge that suits their age. If they are building a bridge, you can ask questions such as, “What could make it stronger?” or “What happens if we move this piece?” These questions encourage them to think about their work without giving away the solution.
You should also recognize when a child needs help and when they simply need more time. Some children may feel frustrated when their first attempt does not work. Rather than completing the project for them, help them look at the problem and consider another approach. At the same time, make sure tools and materials are age-appropriate and that children know how to use and return them safely. Keep adult-only tools out of children’s reach and check materials before each activity.
Observation is just as important as instruction. Watch how children choose materials, respond to unexpected results, and interact with classmates. These moments help you understand their thinking and identify where they may need further support. Your learning goals should guide how you arrange the space, choose activities, and support children’s work. More advanced tools, such as robotics kits and 3D printers, may require additional supervision and troubleshooting, so they are not essential for every preschool makerspace.
FAQs
Should Children Work Individually or in Groups in a Makerspace?
Both approaches are useful. Individual projects allow children to explore their own ideas and work at their own pace. Group projects encourage them to share materials, communicate, and solve problems together. You can offer both options depending on the activity and children’s interests.
How Can Teachers Assess Children’s Learning in a Makerspace?
Look beyond the finished project. Observe how children choose materials, respond when something does not work, and make changes to their designs. You can also take photos, keep short observation notes, or ask children to explain their ideas. These records help you understand their problem-solving, creativity, and communication skills.
How Often Should Children Use a Makerspace?
There is no single schedule that works for every preschool. You might offer a short makerspace session several times a week, keep a small creation area available during free-choice time, or connect projects with the current classroom theme. The important point is to give children enough time to explore, return to unfinished work when practical, and share materials safely.
How Much Space Do You Need for a Preschool Makerspace?
You can start with a small, clearly defined area rather than a separate room. A shared table, a few accessible materials, and nearby storage may be enough for simple projects. Leave room for children to move safely and for teachers to supervise. If the classroom is small, use materials that can be packed away or stored on open shelves between activities.
How Can You Keep a Preschool Makerspace Safe?
Choose materials and tools that match the children’s ages and abilities. Check recycled items for sharp edges, splinters, loose parts, or anything that could present a choking risk. Show children how to use and return tools, supervise activities that involve scissors or other equipment, and store adult-only tools separately. Keep heavier materials on lower shelves and inspect the area regularly.
Conclusion
A makerspace gives children opportunities to turn their ideas into real projects and learn through the process. The right environment helps make these experiences part of everyday preschool routines. At TOP Montessoris, we can help you choose suitable classroom furniture and storage solutions, with free 2D and 3D layout support for your learning space.