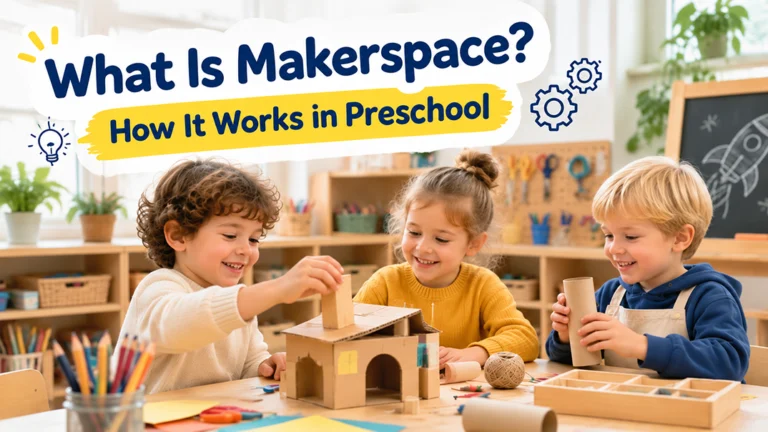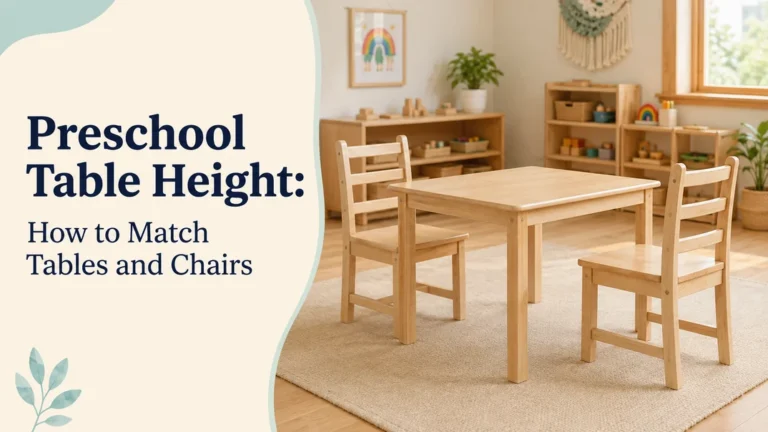

Good Makerspace Design helps you create a preschool space where children can turn ideas into things they build, test, and improve. In this guide, you’ll learn how to plan practical activity areas, choose suitable furniture, organize materials, and maintain a safe environment for everyday learning.
What Should You Consider in Preschool Makerspace Design?
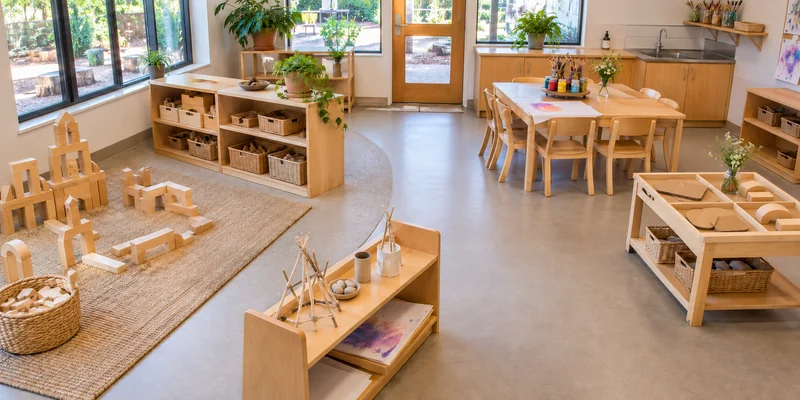
Before choosing furniture or buying materials, think about how your makerspace will be used throughout the day. Start with four factors: the children’s ages and abilities, the available space, the activities you want to support, and the number of children who will use the area at the same time. These decisions will help you plan a space that fits your classroom rather than buying furniture and trying to make everything fit afterward.
Children’s Age and Developmental Abilities
Consider what children can do independently and what still requires adult assistance. Younger preschoolers usually need larger building pieces, simple tools, and materials that are easy to pick up and return. Older children may be ready for more detailed construction, cutting, joining, and problem-solving activities. These differences should guide your choices of tables, chairs, storage height, and materials.
You should also think about how the space encourages independence. Children need to see and reach everyday supplies without constantly asking teachers for help. At the same time, keep tools and materials that require closer supervision in designated storage areas.
Available Space
Measure the room before deciding how to arrange your makerspace. Mark doors, windows, sinks, existing furniture, and main walking routes on a floor plan. Then add the dimensions of the tables, shelves, and storage units you plan to use. Remember to leave enough room for pulled-out chairs, children working on the floor, and access to materials.
Think about how different activities will work together. For example, a construction area needs enough open space for children to build and move around their projects, while an arts and crafts table is better placed near a sink. If possible, mark the proposed furniture positions on the floor and test the layout before purchasing anything.
Types of Activities
Decide which activities you want your makerspace to support before selecting furniture and materials. Building with blocks and cardboard requires open floor space, while drawing, painting, and collage need stable worktables. Science and exploration activities may require additional surfaces or convenient access to water and cleaning facilities.
You do not need to include every activity from the beginning. Choose a few that suit your children’s interests and your classroom setup, then expand the selection as you see how children use the space. This also helps you avoid purchasing materials that may end up unused.
Number of Children
Consider how many children will use the makerspace at the same time. This affects the number of workstations, chairs, and sets of materials you need. A table that seats six children may not provide enough working room if everyone is building or handling several materials.
Think about whether children will work individually or in small groups. You may find that two smaller tables offer more flexibility than one large table, especially when children are doing different activities. Also allow enough room for teachers to observe and assist without interrupting children’s work.
How Should You Divide a Preschool Makerspace?
You do not need a separate room for every type of making activity. What matters is giving children enough space to work and making it easy to find the materials they need. If you have a larger room, you can establish several activity areas. In a smaller classroom, the same table can serve different purposes at different times.
Building and Construction Area
Give construction activities an open floor area where children can spread out blocks, cardboard, and other building materials. Leave enough room for children to approach a structure from different sides, add pieces, and step back to see how their design is taking shape. If several children use the area together, make sure their projects have clear boundaries so one group does not accidentally disturb another.
Some building projects may take more than one session. Allow enough space for children to leave a larger structure in place when practical, without blocking a main route or taking over another activity area.
Arts and Crafts Area
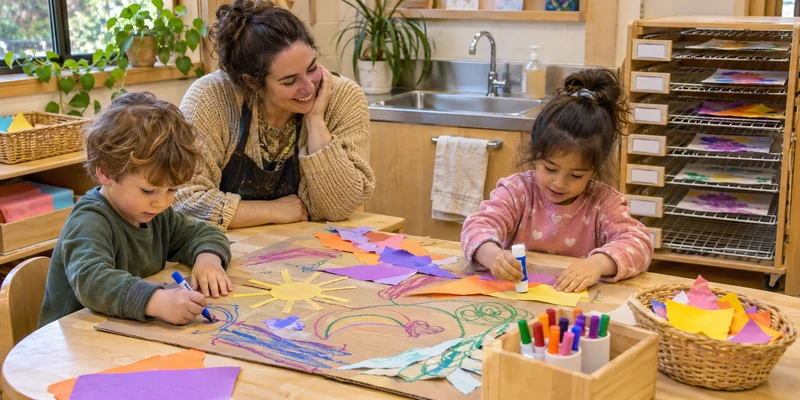
Your arts and crafts area needs a stable table where children can draw, cut, join, and arrange different materials. Place it near a sink if possible, especially if you plan to offer painting or other messy activities. Choose a surface that is easy to clean and suitable for the cleaning products your staff regularly use.
Keep the table available for the next activity by providing a separate place for wet or unfinished artwork to dry. A drying rack or flat drying shelf can prevent completed pieces from being moved before they are ready.
Science and Exploration Area
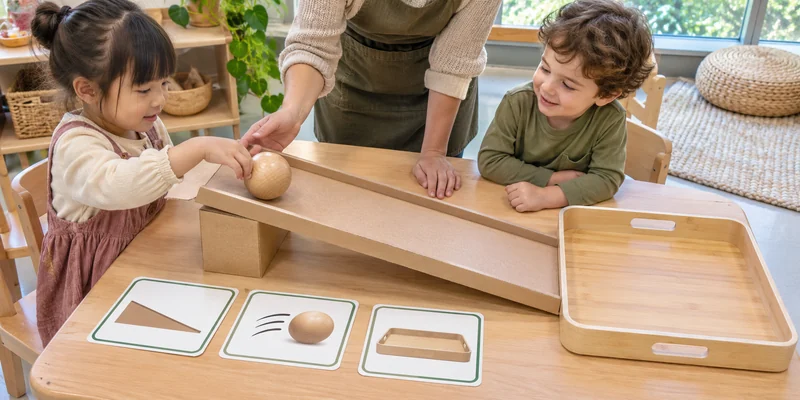
Use this area for observing, comparing, and testing ideas. Children might use magnifying glasses to examine leaves or try different objects on a simple ramp. Choose activities that give them a clear question to explore and enough room to handle the materials safely.
A separate science table is not essential. You can use a shared work surface at different times of the day, as long as it can be cleaned and reset between activities. For water-based exploration, choose a location where spills can be managed easily.
Design and Display Area
Use this area to make children’s thinking visible. Display a selection of sketches, photographs, early models, and finished projects so children can look back at how an idea developed. A drawing displayed beside the model it inspired, for example, can show the steps between an initial idea and the finished work.
Keep the display selective rather than filling every available space. Choose work that children want to share or revisit, and change the display as projects develop. This keeps the area useful without turning it into general-purpose storage.
What Furniture Do You Need for a Functional Makerspace?
Choose furniture according to the activities and the space available. Most preschool makerspaces can begin with child-sized tables and chairs, suitable shelving, and a practical surface for making. Add specialist or movable pieces only when they solve a clear need.
Child-Sized Tables and Chairs
Choose tables and chairs that fit the age and size of the children using them. Children should be able to sit comfortably, reach the tabletop, and move their arms freely while working. A table that is too high or a chair that is too low can make activities uncomfortable, especially when children spend longer periods drawing or assembling materials.
Table shape should suit the way children will work. Rectangular tables can provide defined work areas for individual projects, while round tables can make it easier for a small group to share materials. Consider the number of children, the size of their projects, and the room needed to move around the table.
Open Shelving and Storage Units
When comparing shelves and cabinets, look at their height, depth, compartment size, stability, and the materials they need to hold. Open units make contents easier to see, while closed cabinets are useful for supplies that should not remain within children’s reach. Choose a unit that fits the room and can be used safely.
Keep heavier items on lower shelves and make sure storage units are stable when children take materials out or put them back. The amount of storage matters less than whether the unit suits the materials and the way the space is used.
Work Surfaces
Choose work surfaces for the activities they need to support. Drawing and collage need a smooth, easy-to-clean tabletop, while construction may require a larger surface where children can spread out pieces. For messy activities, check that the finish can withstand the cleaning products used in your program.
Check the usable space rather than relying only on the table’s stated seating capacity. Place sample trays, paper, and materials on the tabletop to see whether each child has enough room to work without crowding others.
Project Storage and Flexible Furniture
A drying rack or low project shelf gives children’s work a place to stay while the main table is used for another activity. Choose the size according to the projects children make: flat artwork needs a different solution from three-dimensional models. Keep this furniture separate from everyday material storage so the two purposes do not compete.
Movable tables and storage units can help you adapt the room for different activities. Before choosing them, check that wheels can be locked, the unit remains stable during use, and you have a clear place to park it when it is not needed.
How Should You Organize Materials in a Makerspace?
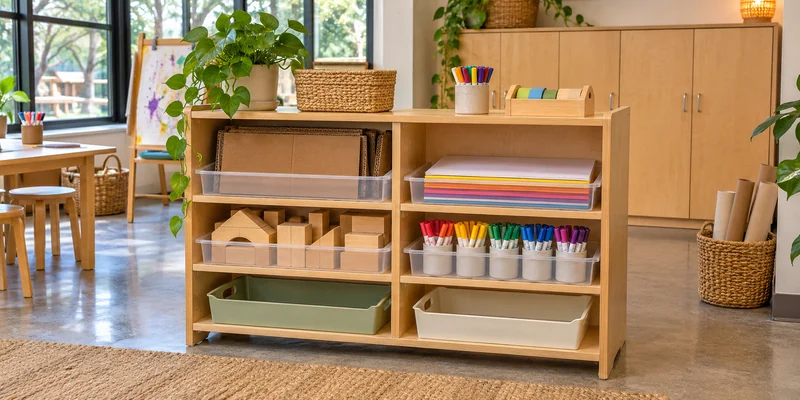
Organize materials so children can identify what is available and understand where each item belongs. Group supplies by use, such as construction pieces, drawing materials, and items for exploration. Keep only the amount children need for the activity on the accessible shelves; store extra stock separately.
Use Clear and Accessible Storage
Use open containers, shallow trays, and simple labels with words or pictures so children can recognize materials and return them to the right place. Keep frequently used items at a height children can reach safely, and place heavier containers on lower shelves. Choose containers that fit the shelf and are easy for children to handle.
Separate Everyday Materials from Restricted Supplies
Decide which materials children can use independently and which need adult supervision. Paper, blocks, and washable markers may be available on open shelves, while scissors, stronger adhesives, and tools with specific handling requirements should be stored where staff can control access. Follow your program’s age guidance and supervision policies when deciding what to make available.
Make Returning Materials Part of the Routine
Show children how to return materials to their labeled containers and where used items should go for cleaning or repair. Keep the routine consistent, and check supplies between sessions so missing or damaged items can be replaced before the next group uses the space.
How Can You Make a Makerspace Safe for Preschoolers?
Review safety at three levels: the materials children handle, the furniture they use, and the routines staff follow. The right setup will depend on the children’s ages, the activities offered, and the level of supervision each activity requires.
Choose Age-Appropriate Tools and Materials
Check materials for size, condition, and potential hazards before placing them in the makerspace. Small loose parts may be unsuitable for younger children who still put objects in their mouths. If you use recycled cardboard or packaging, remove staples, sharp edges, plastic ties, and any parts that could cause injury.
Choose tools that children can handle safely and show them how to use each one. Keep tools and materials that require closer supervision in a staff-controlled area, and make sure an adult is available when the activity calls for direct assistance.
Check Furniture Stability and Room Layout
Check that tables and shelves are stable, edges are properly finished, and tall storage units are secured where necessary. Furniture should not tip or shift when children lean on it, pull out a tray, or reach for materials.
Arrange the room so teachers can see and reach children in each activity area. Keep doors and required routes clear, and avoid placing furniture where it blocks supervision or creates a tight passage.
Establish Cleaning and Inspection Routines
Inspect materials and furniture regularly. Remove broken blocks, cracked containers, loose components, and worn tools. Clean work surfaces after messy activities and follow the manufacturer’s care instructions for furniture finishes and materials.
Set a clear check routine for staff before the area is used again. After a painting activity, for example, brushes should be cleaned, reusable materials put away, and the table wiped down. The exact routine will depend on the materials used and your program’s cleaning requirements.
How Can You Make a Small Makerspace Work?
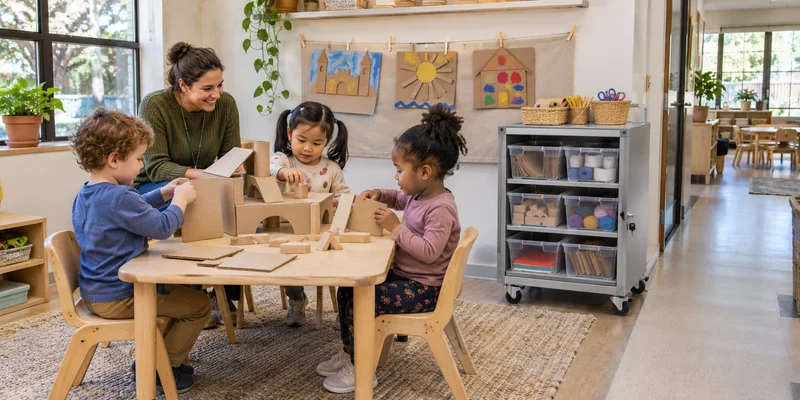
A small makerspace can work in a classroom corner, around an existing table, or through a mobile activity station. The aim is not to fit every activity into the room at once, but to choose a setup that gives children enough working space and can be reset easily.
Use Vertical Space for Storage
Use wall space for drawings, photographs, and lightweight displays when floor space is limited. Keep wall-mounted items securely fixed and position displays where children can see them without climbing or reaching over furniture. Avoid adding shelves simply because wall space is available; each unit should serve a clear purpose.
Choose Multi-Purpose Furniture
Choose furniture that can serve more than one activity when a separate station is not practical. A shared table can be used for drawing at one time and construction at another, while a mobile unit can bring the required supplies to the table. Select pieces that are easy for staff to move and stable when in use.
Decide where movable furniture will be stored between activities. Its parking place should not block a doorway, walking route, or access to another classroom area.
Plan Activities Around the Available Space
Use a simple schedule when one area needs to support several activities. For example, the table can be used for drawing in the morning and science exploration later in the day. Allow enough time between sessions to clear, clean, and prepare the surface before the next activity begins.
Keep each session small enough for children to work comfortably and for staff to supervise. If the table or floor area becomes crowded, reduce the group size or offer the activity at another time rather than squeezing in more children.
How Can You Keep a Makerspace Interesting as Children Grow?
A makerspace should develop as children’s interests and abilities change. You can keep the main furniture and layout while adjusting the materials, tools, and level of challenge. Watch what children are ready to try next instead of replacing equipment simply to make the space look new.
Match Activities to Children’s Growing Abilities
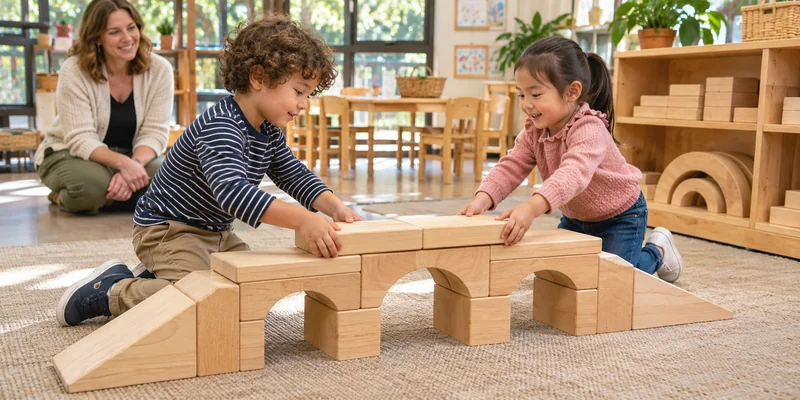
As children gain experience, introduce tasks that ask them to plan, combine materials, or test whether a structure works. A child who is comfortable stacking blocks, for example, may be ready to build a bridge and see which supports make it stronger. Choose challenges that extend what children can already do without making the activity too difficult.
Use children’s questions and the way they approach a task to decide what to introduce next. Some may need more time with familiar materials, while others may be ready for additional tools or more complex construction. The aim is to offer an appropriate next step rather than move every child through the same sequence.
Rotate Materials and Introduce New Challenges
Rotate a small number of materials when children’s interest begins to fade or when you want to introduce a new possibility. Adding cardboard tubes or boxes of different sizes, for example, can give children new ways to build with materials they already know.
Give children time to explore each change before rotating materials again. Changing the selection too often can interrupt a project before children have had a chance to develop it.
Encourage Children to Revisit Their Work
Give children opportunities to return to earlier projects, decide what they want to change, and try another approach. Photographs or simple drawings can help them remember an earlier version and compare it with what they make next.
Allowing children to revisit and improve their work is an important part of the making process. Rather than focusing only on a finished product, give them time to test an idea, notice what happens, and decide what they might change. This keeps the activity focused on exploration and problem-solving.
FAQs
1. How Often Should Children Use a Preschool Makerspace?
A makerspace does not need to be a special activity used only once a week. You can include it in your regular classroom schedule, allowing children to explore materials during free-choice time or through planned activities. Consistent access gives children more opportunities to develop ideas and return to unfinished projects.
2. Should All Children Make the Same Project in a Makerspace?
Not necessarily. A makerspace should leave room for children to explore their own ideas rather than follow one fixed set of instructions. You can introduce a common material or starting activity, but allow children to decide what they want to create and how they want to approach it.
3. What Role Should Teachers Play During Makerspace Activities?
Teachers should observe children’s work, ask questions, and offer help when needed without taking over the activity. Instead of showing children exactly how to complete a project, encourage them to think about possible solutions and try different approaches.
4. Should a Preschool Makerspace Be Open to Children All Day?
Not necessarily. You can keep some areas available during free-choice time while scheduling activities that use tools, messy materials, or closer adult supervision. Choose the arrangement that fits your staffing, daily routine, and the materials children will use.
5. How Do You Set a Budget for a Preschool Makerspace?
Start by listing the furniture and materials you already have, then identify what is missing for the activities you plan to offer. Prioritize essential work surfaces, storage, and basic materials before adding specialist equipment. You can expand the makerspace over time as you see which activities children use most.
Conclusion
A good preschool makerspace is not defined by how much equipment you put into it, but by how well the space supports children’s ideas and activities. Start with what your classroom needs and make changes as you see how children use it. If you are planning a new makerspace or updating an existing classroom, TOP Montessoris can help you choose suitable furniture and provide free 2D/3D classroom layout planning to make better use of your space.